Podcast Microphone Setup: How to Setup a Mic & Record High Quality Audio
Podcasting has become a powerful tool for communication, entertainment, and education. However, a crucial factor that often separates amateur podcasts from professional ones is audio quality. A good microphone setup can dramatically enhance the listening experience for your audience, making your content more engaging and enjoyable. This comprehensive guide will help you achieve professional-level audio, even if you’re just starting your podcasting journey.
Choosing the Right Microphone
The foundation of a good podcast recording lies in the microphone itself. Two main types of microphones exist:
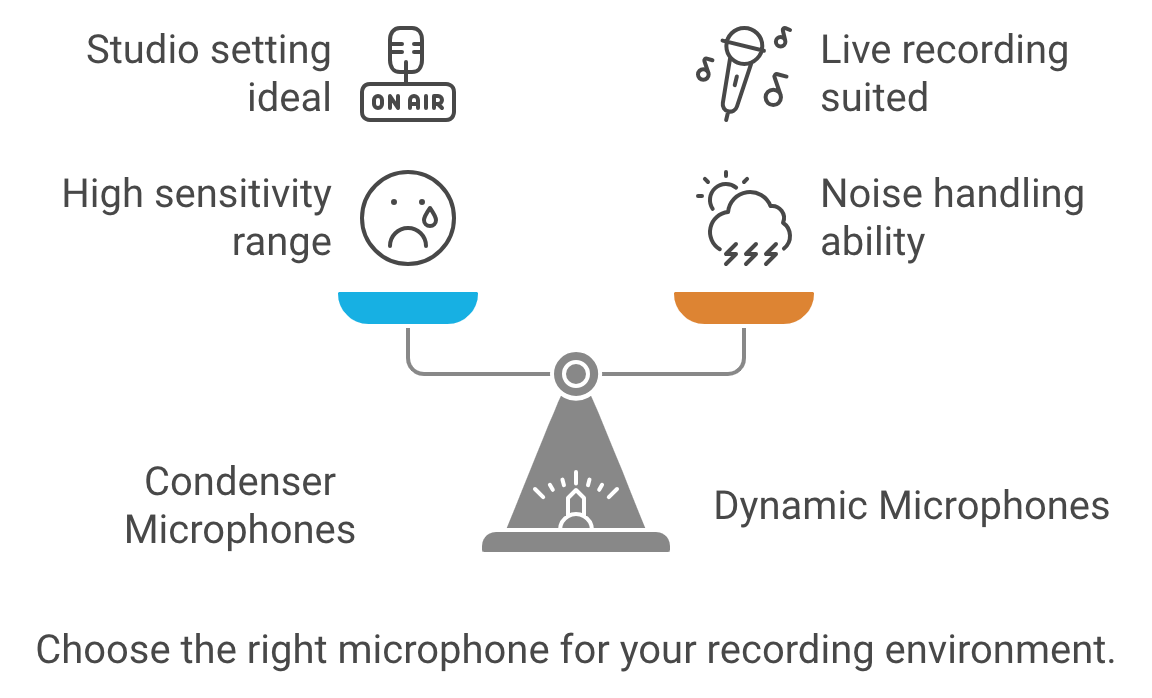
- Condenser Microphones: Highly sensitive, capturing a wide range of frequencies and nuances. Ideal for studio settings with controlled environments.
- Dynamic Microphones: Less sensitive, better at handling loud sounds and background noise. Suited for live recordings or less-than-ideal recording spaces.
Condenser Microphones
- Sensitivity: Condenser mics are more sensitive and capture a wider range of frequencies and detail, making them ideal for studio environments where sound control is strong.
- Audio Quality: They provide crisp, clear, and detailed sound, making voices sound rich and natural.
- Best For: Quiet, treated rooms without much background noise. If you’re in a professional or home studio, a condenser mic may be an excellent choice.
- Power: Condenser microphones require phantom power (48V) to operate.
- Example: Audio-Technica AT2020, Blue Yeti.
Dynamic Microphones
- Durability: Dynamic mics are rugged and can handle higher sound pressure levels, suitable for live environments.
- Noise Rejection: They are less sensitive to background noise, ideal for less controlled environments like home studios, shared spaces, or noisy areas.
- Audio Quality: While they might not capture the same level of detail as condenser mics, they offer a warm and natural tone, which is more forgiving in untreated rooms.
- Best For Rooms with background noise or for those who need a plug-and-play option without a lot of setup.
- Power: No external power is required.
- Example: Shure SM7B, Electro-Voice RE20.
If you’re unsure where to start, USB microphones offer a plug-and-play solution, perfect for beginners or those with limited setups. As you gain experience, consider upgrading to an XLR microphone for greater control and flexibility.
Best Podcast Microphone Setups
| Microphone | Type | Connectivity | Key Features |
|---|---|---|---|
| Samson Q2U | Dynamic | USB/XLR | Versatile, perfect for beginners, good sound quality, future upgrade flexibility. |
| Audio-Technica ATR2100x-USB | Dynamic | USB/XLR | Similar to Samson Q2U, adaptable to various recording setups. |
| Blue Yeti | Condenser | USB | Multiple polar patterns, versatile for solo or group recordings, easy to use. |
| Rode NT-USB Mini | Condenser | USB | Compact, clear audio quality, minimalist setup. |
| Shure SM7B | Dynamic | XLR | Professional-grade, rich sound quality, commonly used in studios. |
| Rode PodMic | Dynamic | XLR | Broadcast-quality, internal pop filter, durable metal build. |
| Shure MV7X | Dynamic | XLR | Voice Isolation Technology, optimized for spoken word, affordable alternative to SM7B. |
| Dynamic Microphone Kit | Dynamic | USB/XLR | Includes boom arm, gain knob, and mute function for a full setup. |

Creating an Optimal Recording Environment
Your recording space significantly impacts your audio quality. Focus on minimizing background noise and echo:
- Find a Quiet Space: Choose a room away from traffic, appliances, and other noise sources.
- Create a Makeshift Booth: If a quiet room isn’t available, use blankets, pillows, or acoustic panels to dampen sound reflections.
- Use a Pop Filter: This inexpensive tool helps reduce plosive sounds (“p” and “b” sounds) that can cause audio clipping.
Benefits of Using a Pop Filter
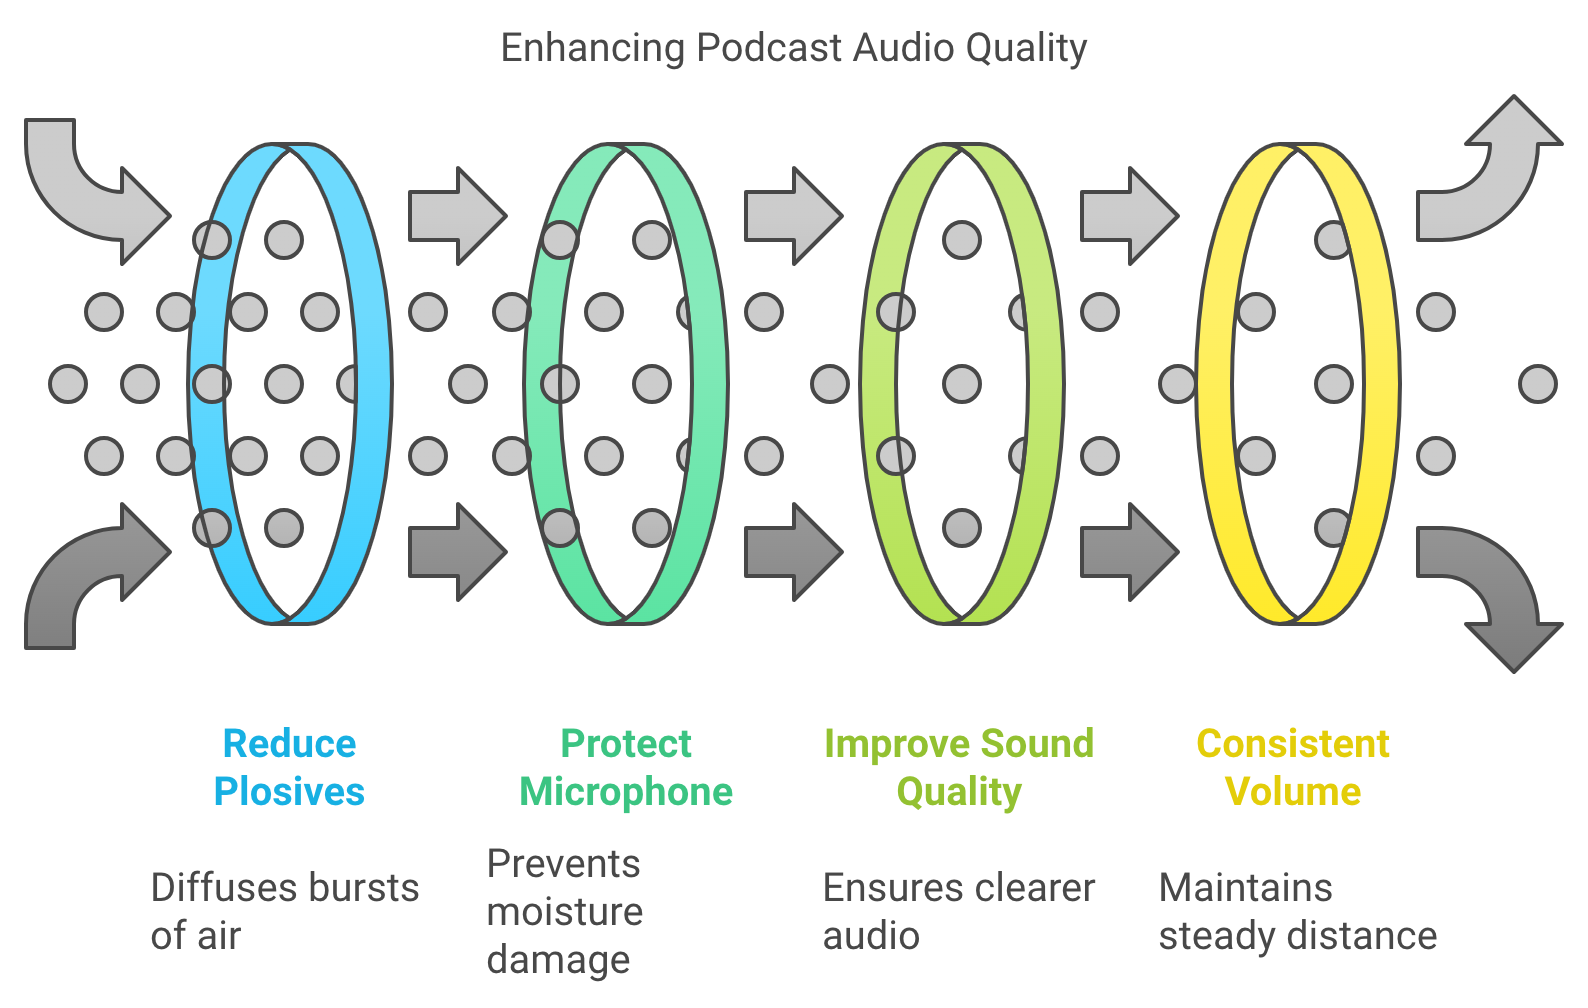
Using a pop filter is highly recommended for both condenser and dynamic microphones during podcasting. Here’s why:
- Reduces Plosives: Plosive sounds (like “P,” “B,” or “T”) can cause bursts of air that hit the microphone and create unwanted “popping” sounds. A pop filter helps diffuse this air before it hits the mic.
- Protects the Microphone: The filter also prevents saliva or moisture from reaching the microphone, which can damage sensitive components over time, especially for condenser mics.
- Improves Sound Quality: By reducing harsh sounds, a pop filter contributes to cleaner and more professional audio.
- Helps with Consistent Volume: It encourages you to maintain a consistent distance from the microphone, helping to avoid accidental loudness spikes when speaking too closely.
Placement Tips:
- Position the pop filter about 2–3 inches from the microphone.
- Place your mouth 4–6 inches behind the pop filter to get the best sound balance and prevent distortion from speaking too close to the mic.
A pop filter is an inexpensive but valuable tool for achieving professional-sounding audio, regardless of which type of microphone you’re using for podcasting.
Setting Up Your Microphone
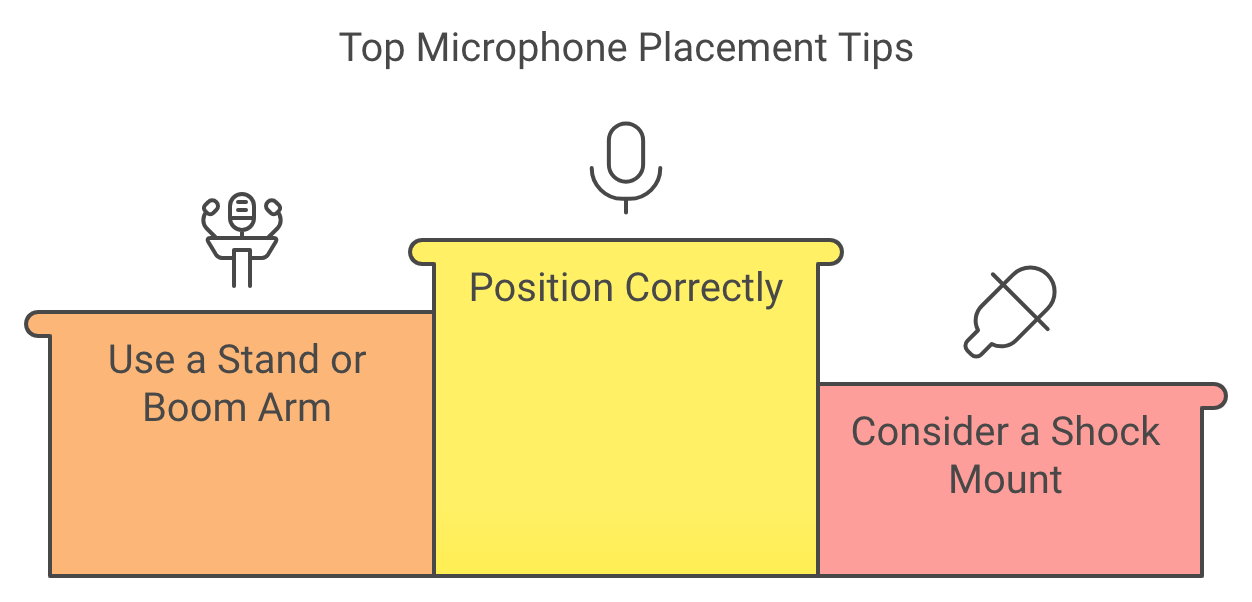
Microphone placement plays a critical role in how your voice sounds.
- Position Correctly: For solo recordings, place the microphone 6-12 inches away from your mouth, slightly off-center to avoid breathing directly into it.
- Use a Stand or Boom Arm: This helps maintain consistent microphone placement and frees up your hands.
- Consider a Shock Mount: These reduce vibrations from handling or bumps, keeping your audio clean.
Connecting Your Microphone
Connecting your microphone depends on its type:
- USB Microphones: Simply plug into your computer’s USB port.
- XLR Microphones: Require an audio interface to connect to a computer. They provide better sound quality and more control over recording levels.
- Use Quality Cables: Invest in good cables to ensure a clean signal transmission.
- Monitor with Headphones: Headphones allow you to hear exactly what your microphone is capturing, helping you identify any issues in real-time.
Recording and Editing Your Podcast
Several user-friendly recording software options exist, including Audacity (free), GarageBand (Mac), and Adobe Audition. Once you’ve recorded your audio:
- Edit for Clarity: Remove any unwanted noise, mistakes, or long pauses.
- Adjust Levels: Ensure your audio is balanced and at an appropriate volume.
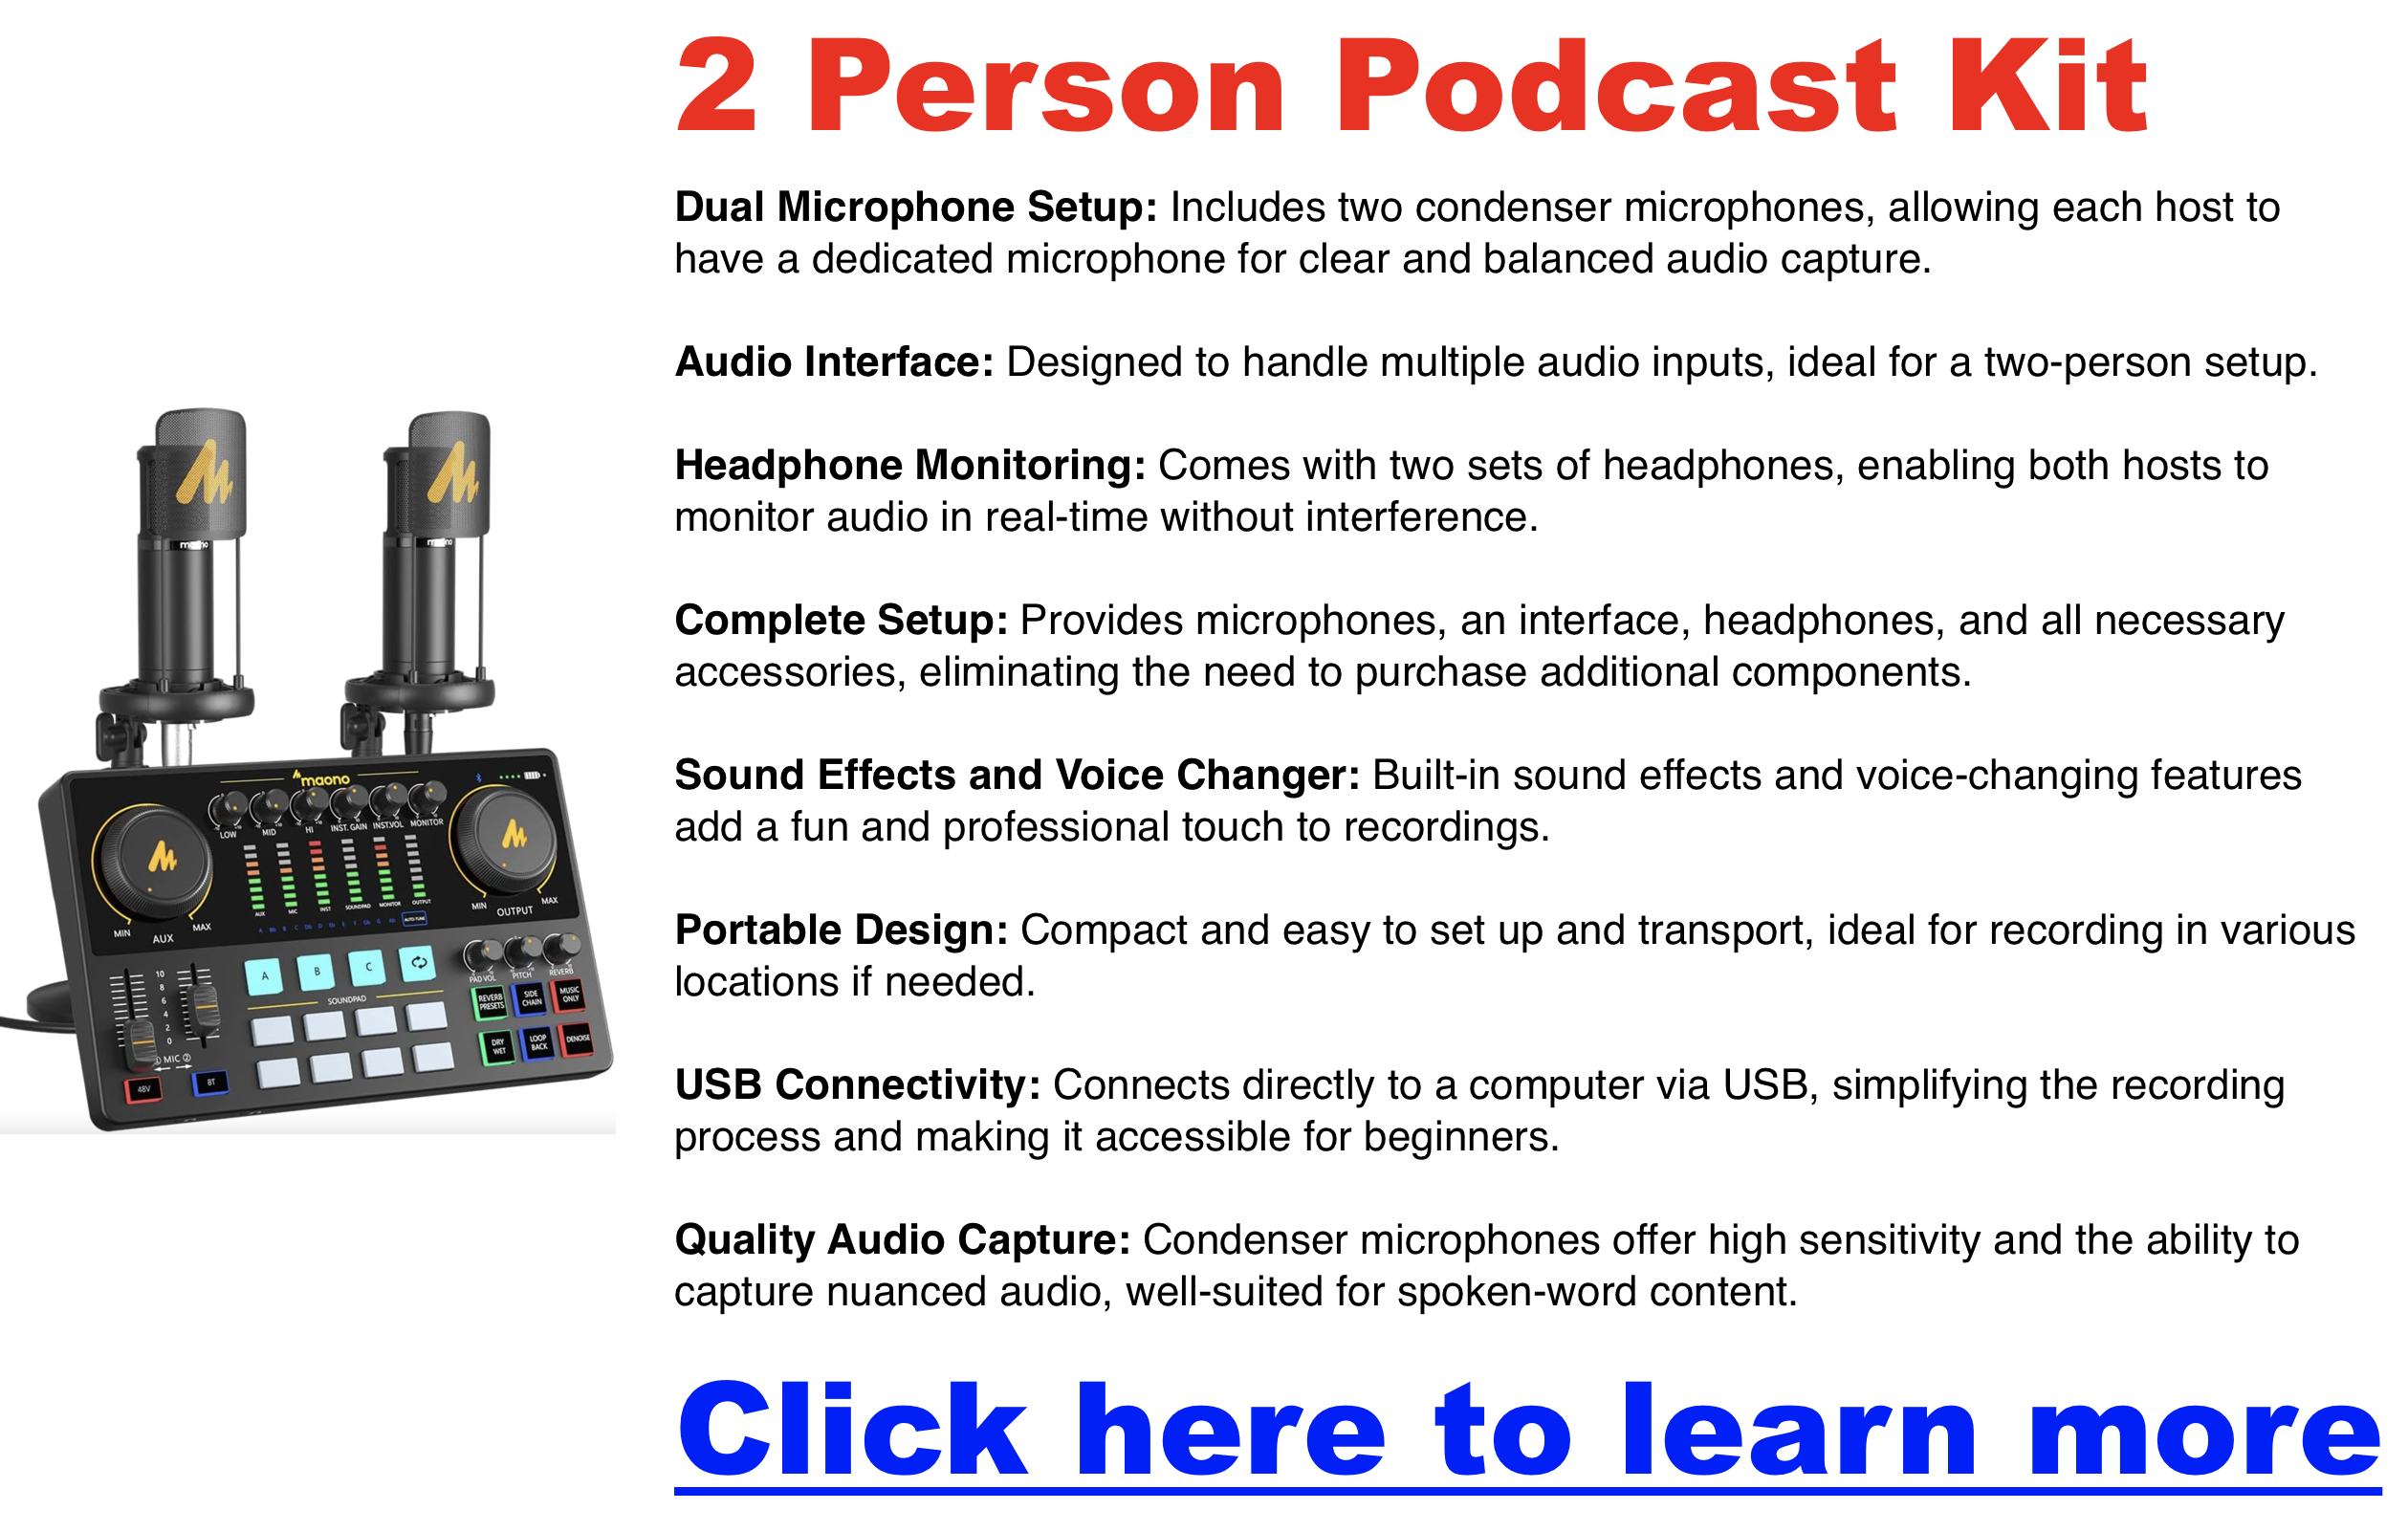
2-Person Podcasting Setup
Click here for my favorite 2 person podcasting kit
Recording a podcast with two people is straightforward and allows for conversational flow without overwhelming technical requirements. Here’s a guide to setting up a two-person podcast with essential equipment and techniques to create a professional-quality recording.
Equipment Essentials
- Microphones:
- XLR Microphones: Consider XLR microphones like the Samson Q2U or Behringer XM8500 for high-quality audio. These microphones allow you to record each speaker on a separate track, crucial for easy editing and better sound quality.
- USB Microphones: If simplicity and portability are priorities, USB mics like the Blue Yeti are great for beginners. However, they may lack the control and audio fidelity of XLR mics when recording in shared spaces.
- Recommended Kits: All-in-one kits like the Hayner-Seek Bundle and Movo PodKit2AH include microphones, headphones, and audio interfaces, providing an easy setup for two-person podcasting.
- Audio Interface:
- Dual-Input Interface: An audio interface with two XLR inputs, such as the Focusrite Scarlett 2i2, allows you to connect two microphones to your computer while maintaining clear audio quality for each speaker.
- Headphones:
- Closed-Back Headphones: Both speakers should use closed-back headphones to monitor audio without feedback. Options like the Audio-Technica ATH-M20X are budget-friendly and effective for real-time monitoring.
- Recording Software:
- Multi-Track Recording Software: Free software like Audacity or paid options like Adobe Audition provide robust tools for multi-track recording, making editing easier by allowing separate tracks for each speaker.
Recording Space
- Quiet Room: Select a quiet room with minimal background noise to ensure clear audio. Using blankets, foam panels, or other acoustic treatments, especially in smaller spaces, helps reduce echo and improve sound quality.
Recording Techniques
- Microphone Placement:
- Position each microphone about 6–12 inches away from the speaker, slightly off-center to avoid direct breath sounds hitting the mic, which reduces plosives and improves audio clarity.
- Separate Audio Tracks:
- Record each speaker on their own track to simplify editing. Separate tracks allow you to control each speaker’s volume, cut out background noise, and make individual adjustments.
Conversation Management
- Encourage Pauses:
- Remind participants to pause briefly before speaking. This prevents overlap and makes editing smoother.
- Remote Recording:
- Platforms like Podbean, Podcastle, Zoom, or Riverside.fm offer high-quality remote recording options if recording remotely. These platforms support separate tracks for each participant, allowing for better control during post-production.
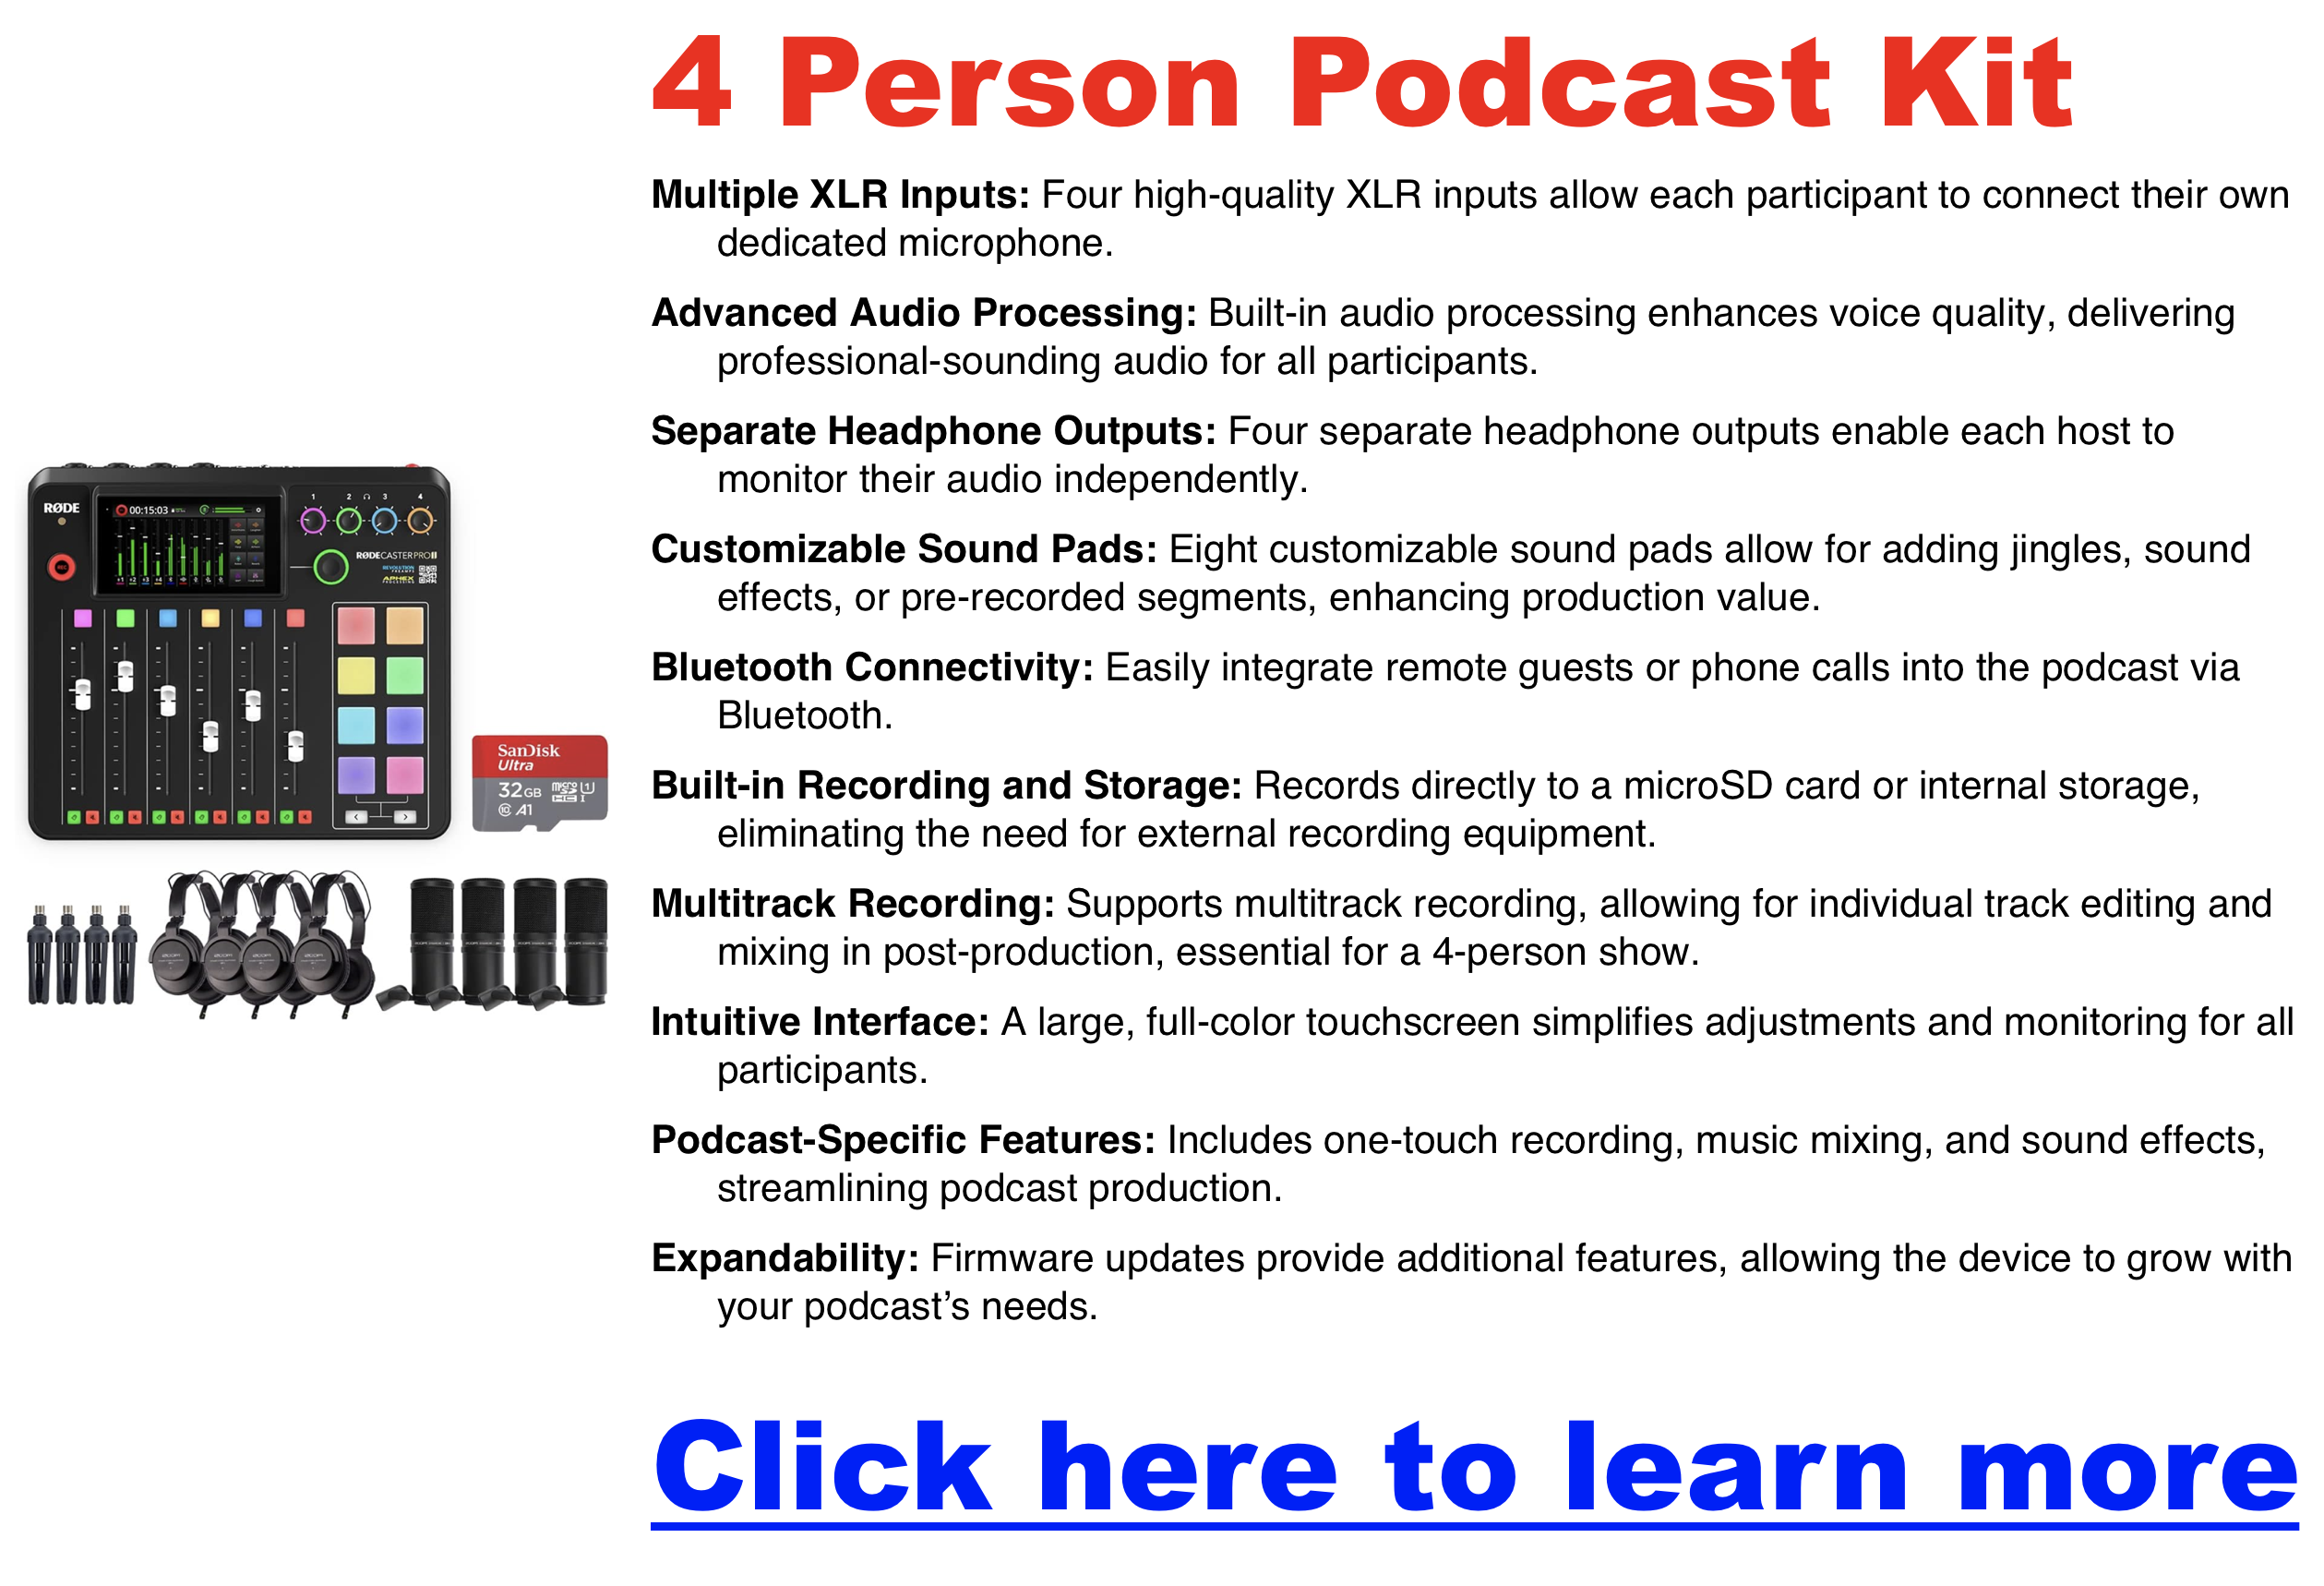
4-Person Podcasting Setup
Click here for my favorite 4 person podcasting kit
Recording a podcast with four people requires specific equipment and careful planning to capture each voice clearly and avoid crowding the audio.
Equipment Essentials
- Microphones:
- Individual Microphones for Each Speaker: Each participant should have their own microphone to capture clear, isolated audio for each voice.
- XLR Microphones: For professional sound quality, consider XLR microphones like the Shure SM58 or Audio-Technica AT2020, which provide superior sound and individual track recording.
- Recommended Kits: Kits like the Zoom PodTrak P4 provide an integrated solution with multiple inputs, ideal for four-person setups.
- Audio Interface:
- Four-Input Audio Interface: An interface like the Focusrite Scarlett 18i8 or Zoom PodTrak P4 is essential for connecting multiple microphones, each with its own input. This ensures that each microphone records on a separate track, simplifying editing.
- Headphones:
- Closed-Back Headphones for Each Speaker: Every participant should wear headphones to monitor their own audio and the group’s, preventing audio bleed and background noise.
- Recording Software:
- Multi-Track Recording Software: Use software like Audacity (free) or Adobe Audition (paid), which supports multiple audio tracks, making editing each person’s audio easier.
- Mixer (Optional):
- Real-Time Audio Control: A mixer, such as the Rode RODECaster Pro, can help adjust each speaker’s audio levels in real-time, useful for live shows or those looking for more advanced sound management.
Recording Space
- Spacious Room with Acoustic Treatment: Choose a space large enough to comfortably accommodate four people. Use foam panels, curtains, or carpets to reduce echo and improve sound quality, creating a balanced acoustic environment for all voices.
Recording Techniques
- Visual Contact:
- Arrange seating so that all participants can maintain eye contact. This improves the natural flow of conversation and enhances non-verbal communication.
- Separate Audio Tracks:
- Record each speaker on an individual track to simplify editing. Separate tracks make it easier to balance sound, reduce background noise, and control each voice’s volume.
- Noise Reduction:
- Use directional (cardioid) microphones to reduce background noise. This ensures that each mic focuses on the speaker’s voice and minimizes ambient sound, creating a cleaner audio result.
Conversation Management
- Appoint a Moderator:
- Designate one person to lead the discussion and guide conversation flow. This ensures that everyone has a chance to speak and helps manage pacing.
- Encourage Pauses:
- To avoid overlapping dialogue, encourage participants to pause briefly before responding.
- Use Names:
- When addressing someone specifically, use their name. This helps listeners follow the conversation and understand who is speaking.
- Limit Side Conversations:
- Keep the focus on group discussion rather than splitting into smaller side conversations, which can be distracting and hard to follow.
Remote Recording Options
If all participants cannot be in the same location:
- Remote Platforms: For remote recording, use platforms like Podbean, Podcastle, Riverside.fm, Zoom, or Zencastr. These platforms support high-quality, multi-track recording, allowing each participant’s audio to be recorded separately for easy editing.
- Stable Connection and Equipment: Each participant should have a reliable internet connection and their own microphone and headphones to maintain consistent audio quality across all speakers.
- Synology DS1525+ for Podcasters: What You Need to Know Before You Buy
- StreamYard Pricing (2026): Full Comparison of Plans, Differences, Features & Discounts
- SquadCast Pricing Explained: Every Plan, Feature, and Trade-Off Worth Knowing
- Zencastr Pricing Explained: Which Plan Actually Fits Your Podcast?
- Best Podcast Cameras in 2026: Creator Picks for Every Budget