Best Podcast Equipment in 2026: Beginner to Pro Setups
A fast, no-nonsense guide to the podcast gear that actually matters—organized by budget, experience level, and use case.
Compare setups at a glance, then build your exact rig with upgrade paths that won’t waste money.
2026 updates: better “hybrid” mics (USB + XLR), smarter podcast production consoles, and a much clearer answer to
“do I need a mixer?” (usually: no—unless you’re doing in-room multi-person shows or live routing).
If you’re new, start simple and leave yourself an upgrade path.
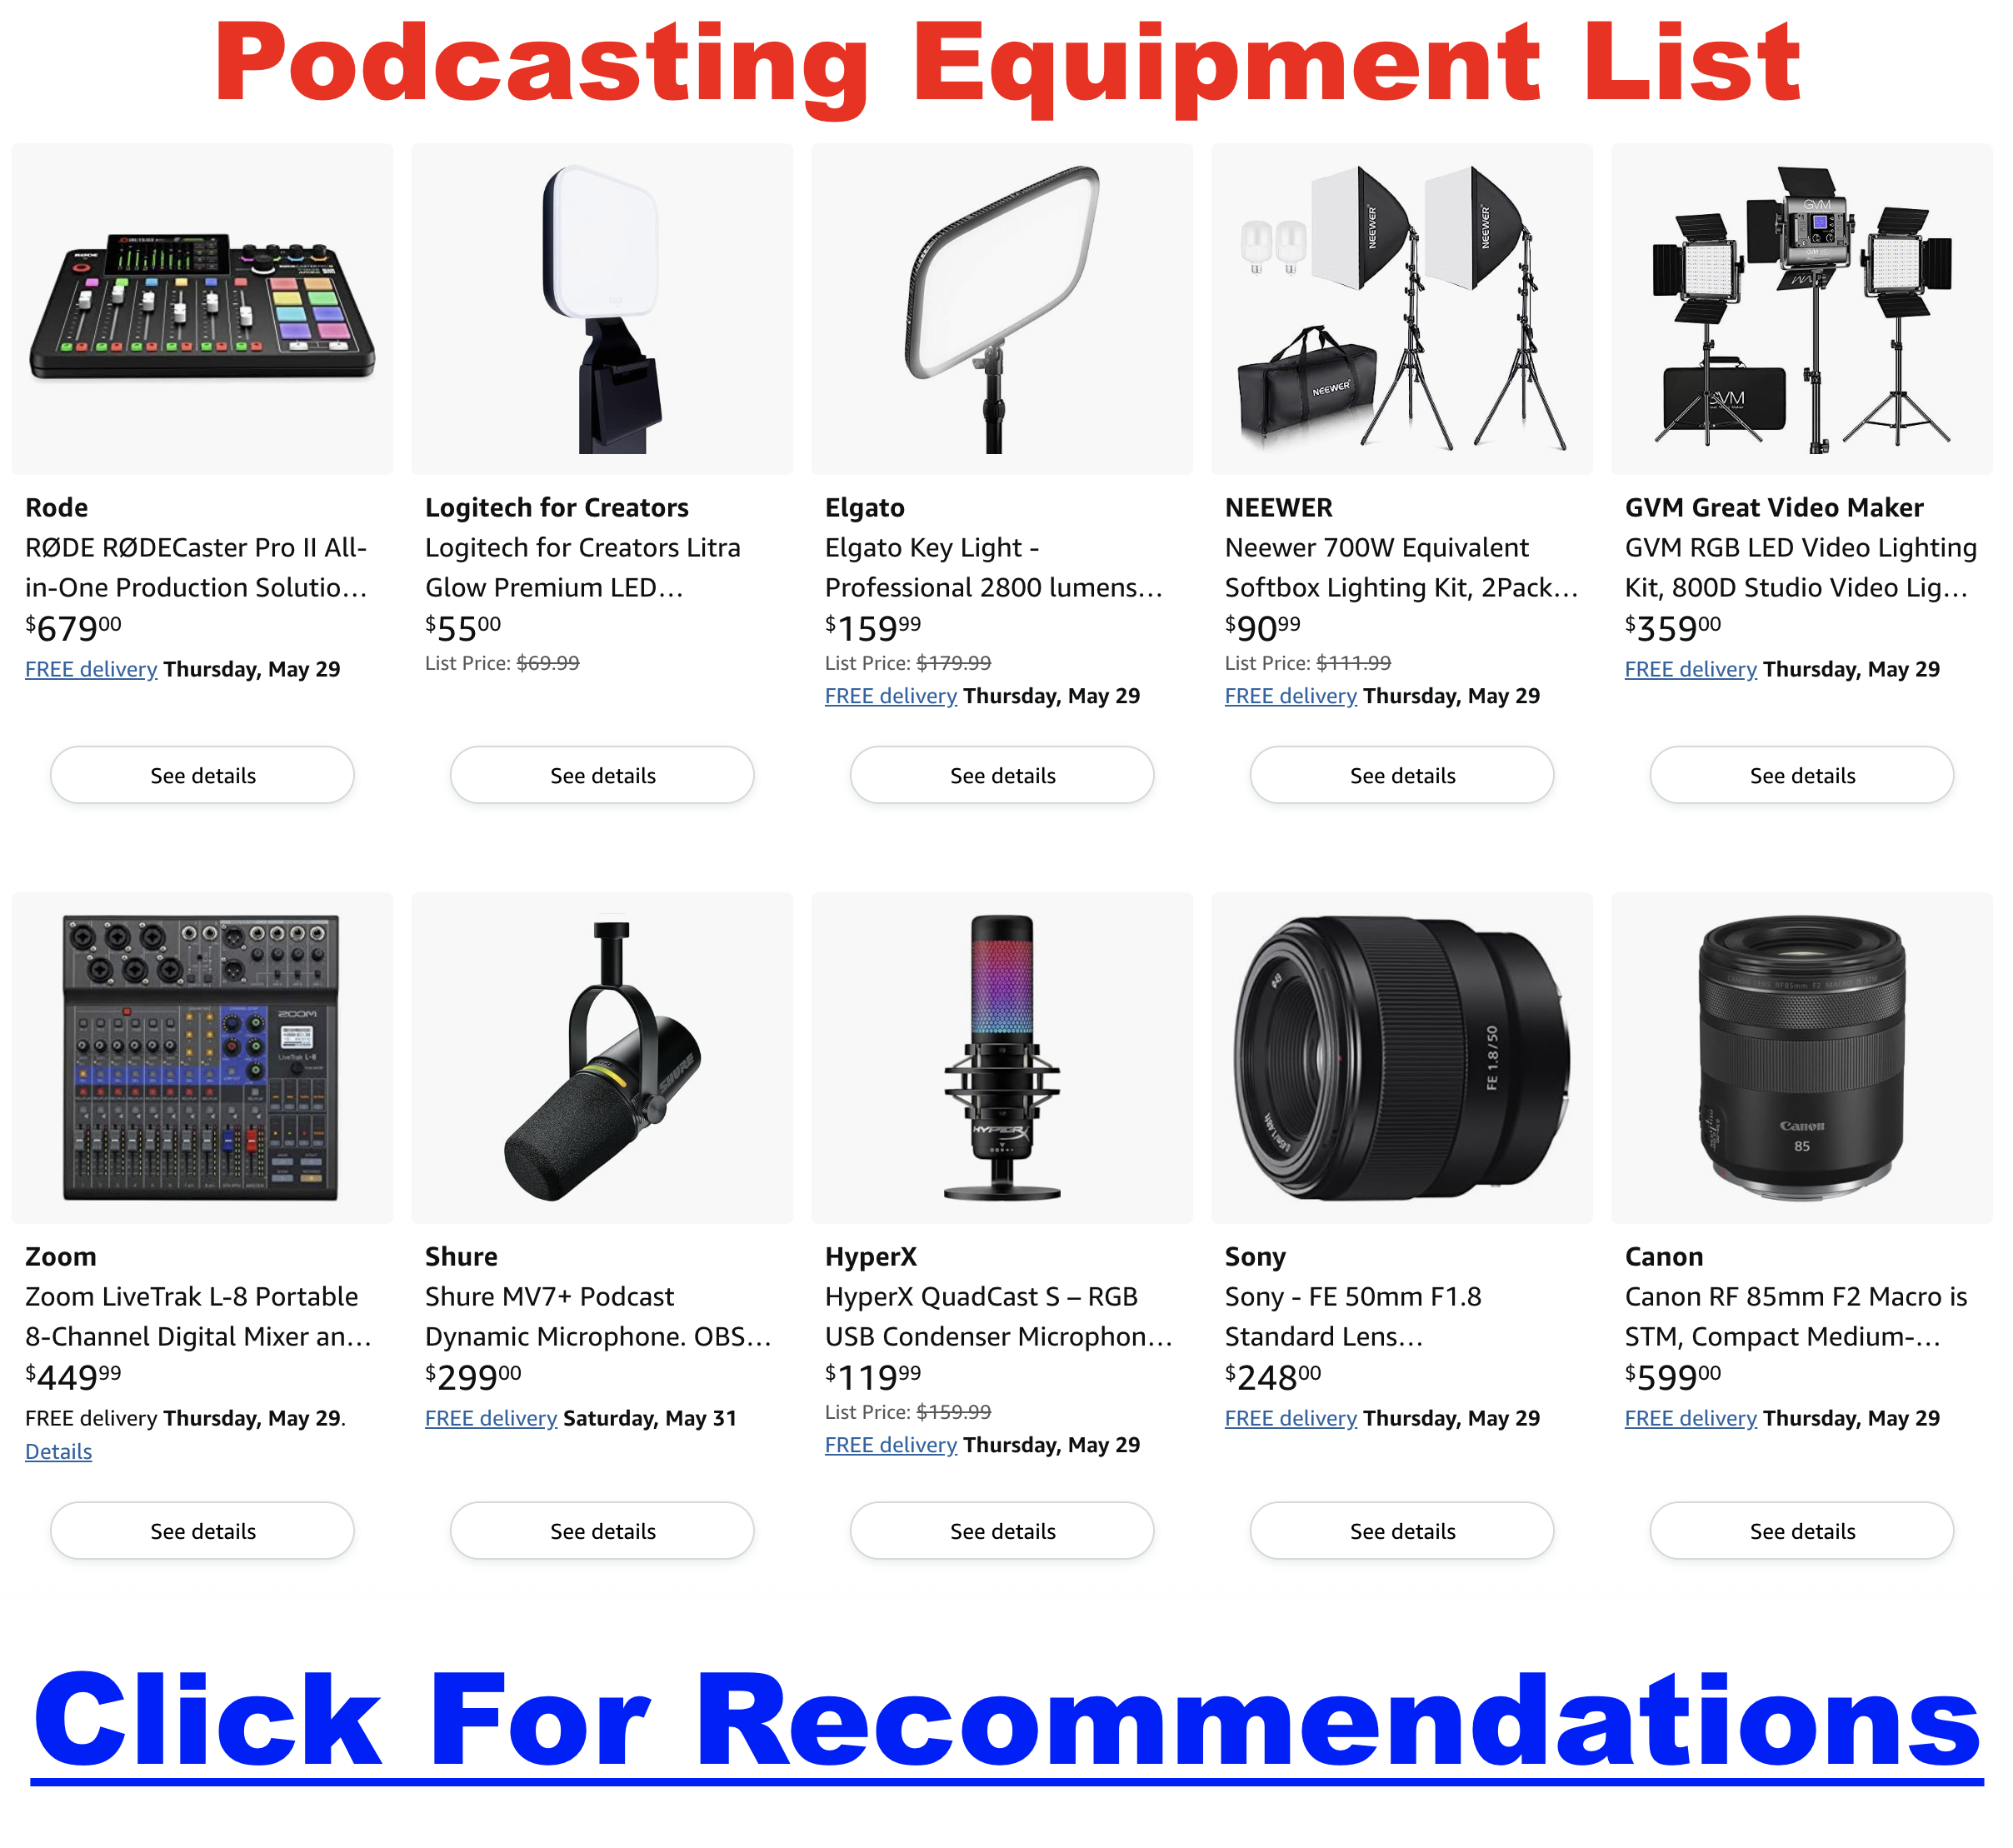
Best Podcast Equipment in 2026 (Quick Comparison)
Want the simplest decision? Pick based on how you record:
solo, remote interviews, or multiple people in the same room.
If you’re unsure, start with Tier 1 and upgrade later.
| Setup | Core Mic | Interface/Recorder | Best For | Buy |
|---|---|---|---|---|
| Starter (Under $150) | Samson Q2U (USB/XLR) | Direct USB (upgrade to XLR later) | Beginners, travel, simple setup | View on Amazon → |
| Prosumer (Sweet Spot) | Dynamic XLR (SM58 / PodMic / PodMic USB) | 2-channel interface (MOTU / SSL / Audient) | Cleaner sound, best upgrade path | See full build → |
| Pro Studio (Broadcast-ready) | Shure SM7B (+ clean gain) or SM7dB | Recorder/Console (Zoom / RØDE / Yamaha MGX for multi-person) | Multiple mics, routing, live/streaming workflows | See full build → |
If you record with co-hosts or guests, also see:
equipment for co-hosts & groups.
The Foundation: 2 Essentials That Make Any Mic Sound Better
Before you obsess over microphones: two upgrades improve audio more than anything else—
accurate monitoring and a less echo-y room.
1) Hear Everything: Studio Monitor Headphones
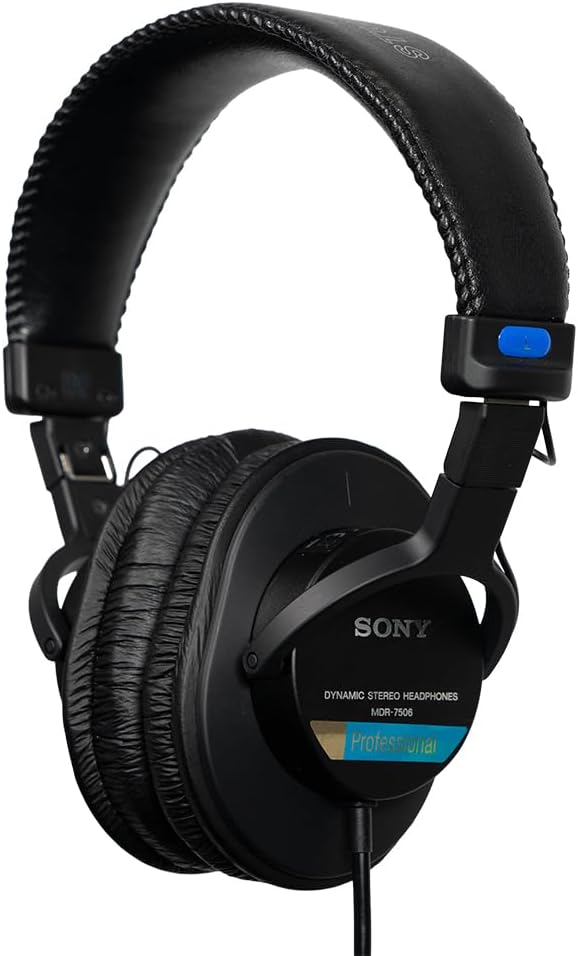
- Why they matter: Flat, honest sound reveals plosives, hums, and room reverb that consumer headphones hide.
- For co-hosts/guests: Get extra pairs and a small headphone amp so everyone monitors comfortably.
Pro Tip: See why we recommend the MDR-7506 here.
Monitoring live catches problems before they ruin a take.
2) Tame Your Room: Acoustic Treatment
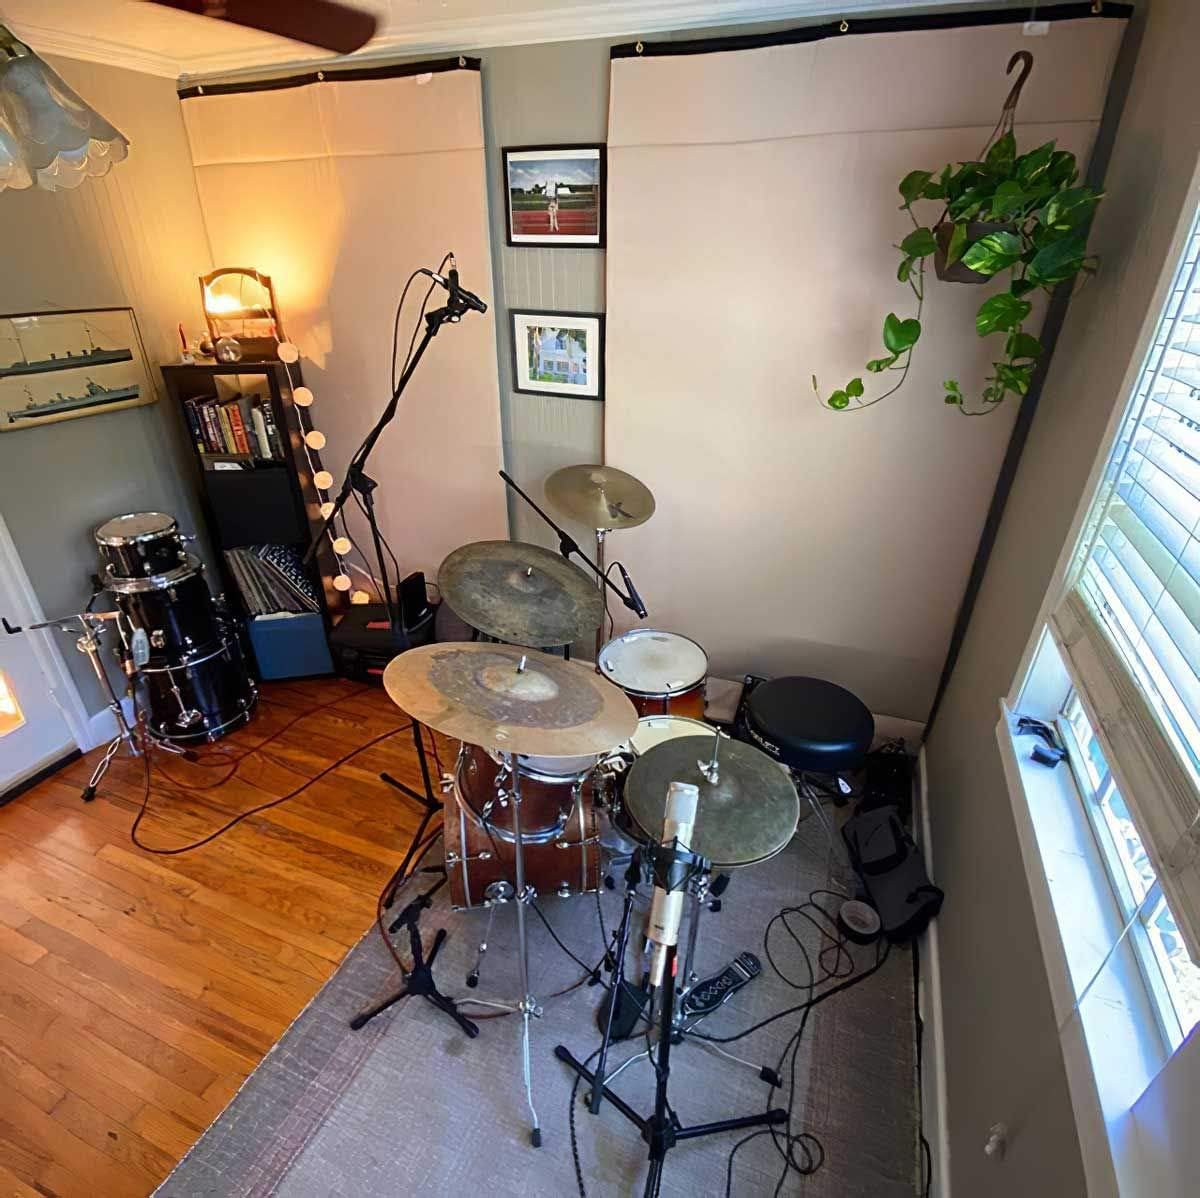
- Why it’s non-negotiable: Absorbs echo/reflections so your mic hears your voice—not your room.
- Real-world note: A handful of panels in the right spots can make budget gear sound expensive.
Pro Tip: Treating your space often beats buying a more expensive mic.
If you’re troubleshooting harshness or “boxy” audio, also see: why your voice sounds weird when recorded.
Tier 1: Starter Kit (Under $150) — Great Sound, Simple Setup
Perfect for first-timers or a compact travel rig. Start on USB, upgrade later via XLR.
If you’re brand new, this is the “don’t overthink it” choice.
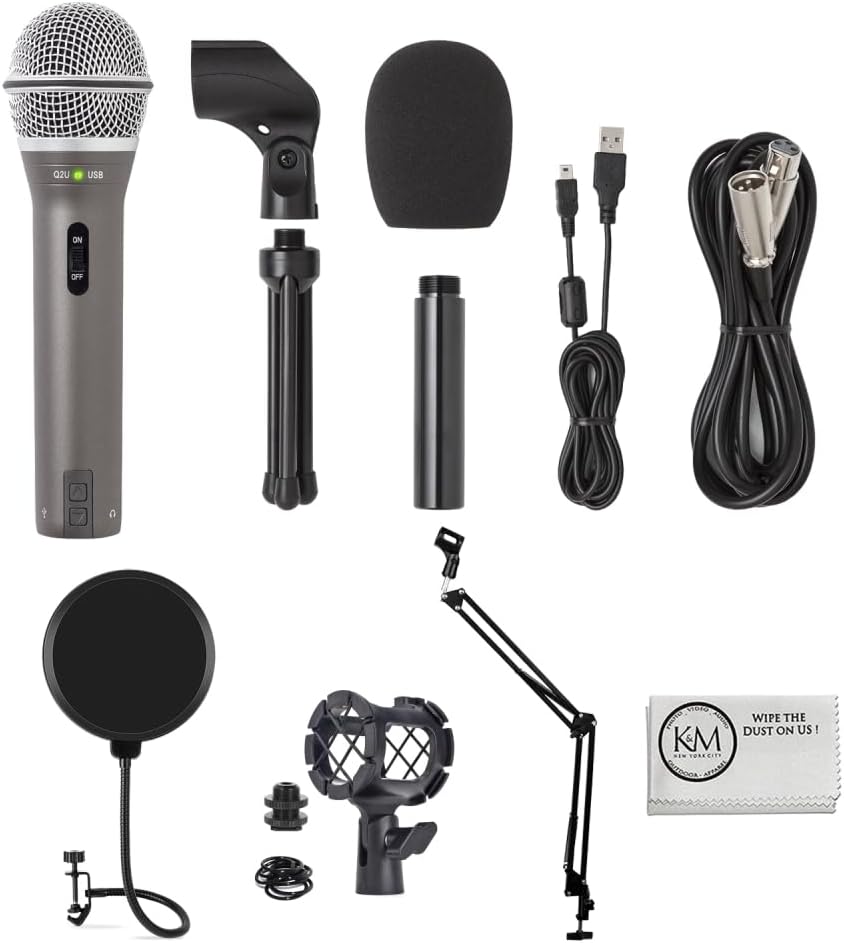
- Why it’s great: True plug-and-play via USB with a clean upgrade path to XLR later.
- Best use case: Solo podcasts, remote interviews, travel recording.
- Quick win: Add a simple pop filter and get 3–4 inches from the mic (dynamic mics love close-up speaking).
Read next: XLR vs USB (the simplest explanation),
and how to record a podcast if you want a quick workflow.
Tier 2: Prosumer Rig ($350–$700) — The Sweet Spot for Most Podcasters
This is where your audio starts sounding “professional” without getting complicated:
an XLR dynamic mic + a 2-channel audio interface + decent monitoring.
It’s also the easiest tier to upgrade later (better mic, better room, same interface).
Mic Pick #1 (Classic): Shure SM58
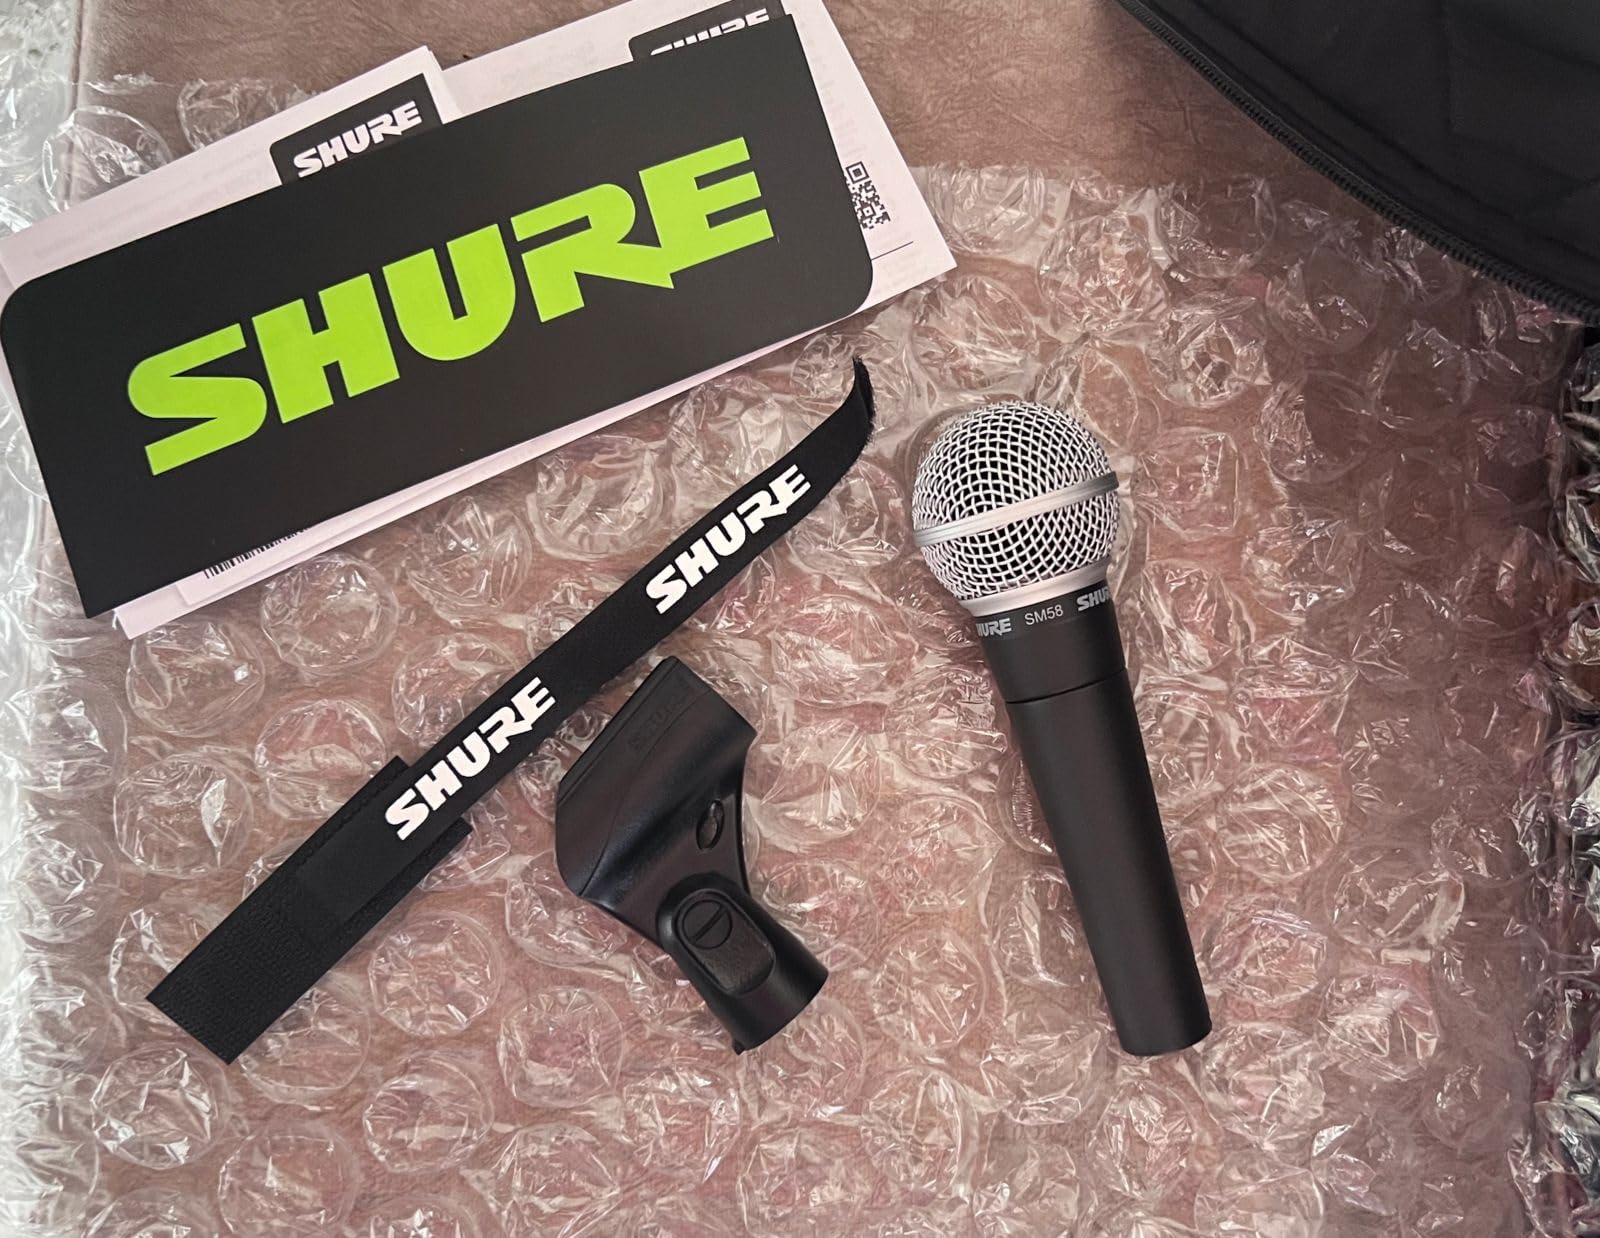
- Why it’s a workhorse: Durable, forgiving, and great background rejection for imperfect rooms.
- Best for: Spoken voice, remote interviews, casual studio spaces, “I don’t want a delicate mic” people.
Mic Pick #2 (2026 Upgrade Path): Hybrid USB/XLR Dynamics
In 2026, a lot of creators want one mic that works directly into a laptop today,
but can still go XLR into better gear later. Hybrid mics are built for that.
- Good fit if: you record on the road, switch between locations, or want USB simplicity now but “real studio” later.
- What to look for: a dynamic capsule, a solid pop filter solution, and stable USB performance.
Deep dive: If you want to compare mics by voice type and room conditions, see:
best podcast microphones.
Audio Interface Options (2-channel)
- MOTU M2, SSL 2, or Audient EVO 4
- Why you need one: cleaner preamps + better conversion = lower noise and better tone than budget mixers/USB mics.
- When 4 inputs matters: in-room co-host + guest (or two guests). Otherwise, 2-channel is perfect.
If you’re recording with a co-host, see: podcast setup for two.
Tier 3: Professional Studio ($800+) — Broadcast-Ready, Flexible Workflows
This tier is for “I want it to sound like a real show” and/or “I need routing, monitoring, and backups.”
It’s also where you stop thinking in single devices and start thinking in a system.
Pro Mic: Shure SM7B (or the easier-gain alternative)
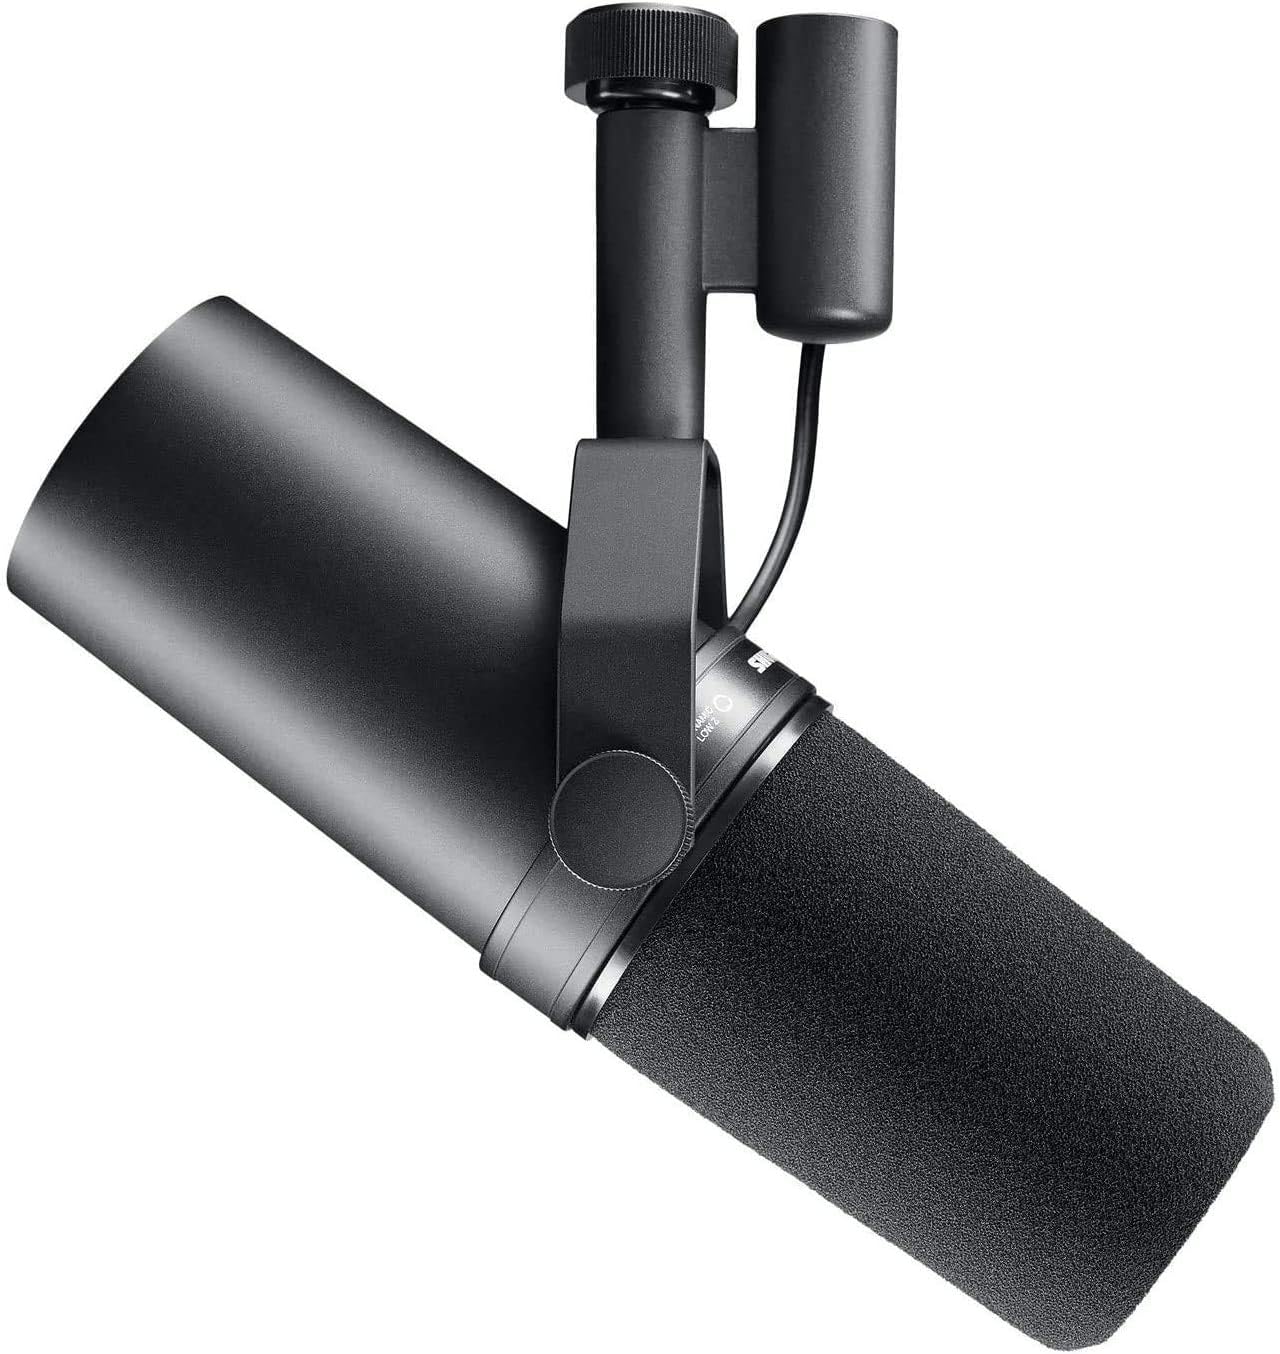
- Why it’s iconic: full-bodied “broadcast” tone with strong background rejection.
- Gain alert: it needs lots of clean gain. If your interface struggles, add an inline preamp (below) or choose a mic with built-in gain.
Recorder/Interface (Portable + Backup): Zoom H6
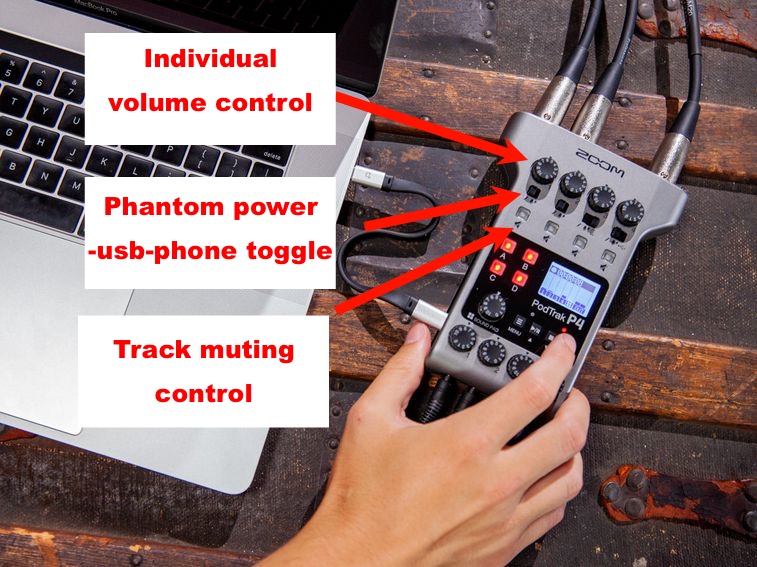
- Why it’s a powerhouse: field recorder + desktop interface with SD backup (huge for “never lose an episode”).
- Best use case: in-person interviews, live events, multi-mic recording, or a studio that wants redundancy.
Clean Gain (If Needed): FetHead / Cloudlifter / Triton
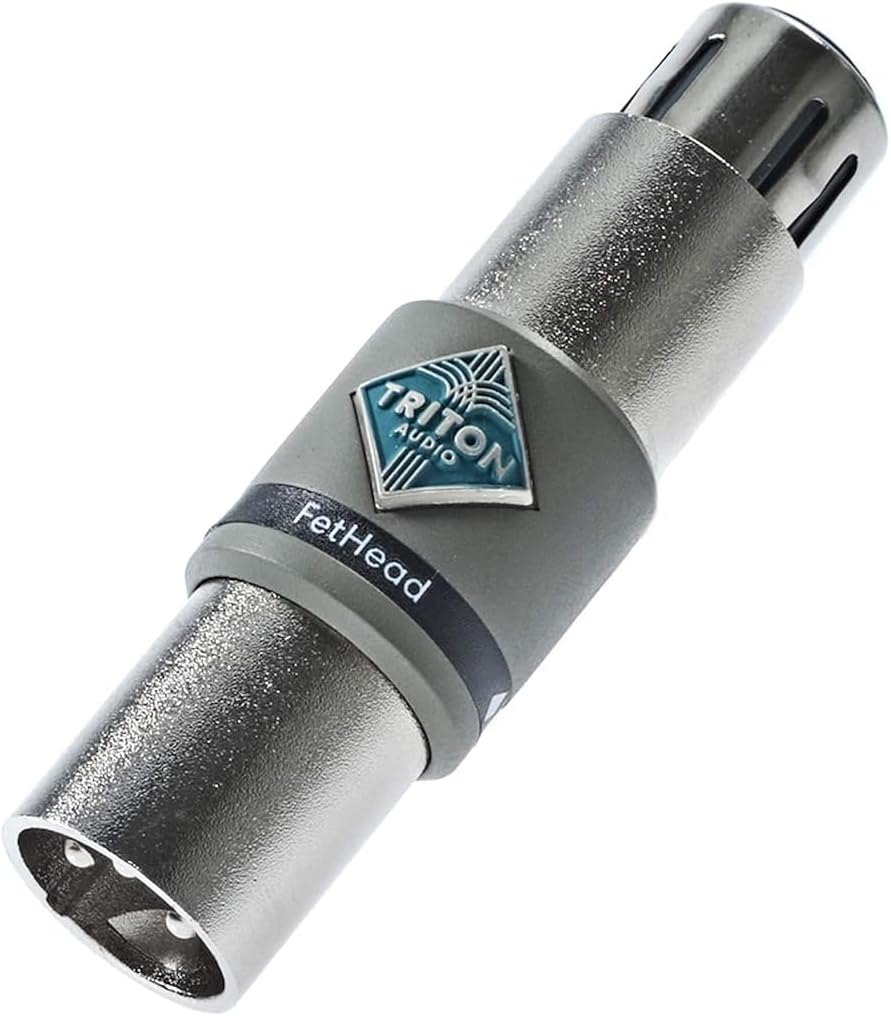
- Why you might need it: adds clean gain so you don’t crank noisy interface preamps.
- Alternatives: Cloudlifter CL-1, Triton Audio FetHead variations.
If your audio feels “quiet” or “thin,” don’t guess—diagnose. See:
how to increase volume for podcast audio
and what a preamp is.
Do You Need a Mixer in 2026?
Most podcasters do not need a mixer. If you record solo or do remote interviews,
an audio interface is usually quieter, simpler, and easier to learn.
When a mixer (or production console) actually makes sense
- Multiple people in the same room (and you want easy headphone monitoring + routing)
- Live streaming where you need music beds, sound pads, phone audio, or multiple audio sources
- Hybrid video shows where audio + video routing matters
- You want redundancy (recording to SD/microSD while also sending USB to a computer)
If you’re shopping mixers specifically, start here:
audio mixer for podcast.
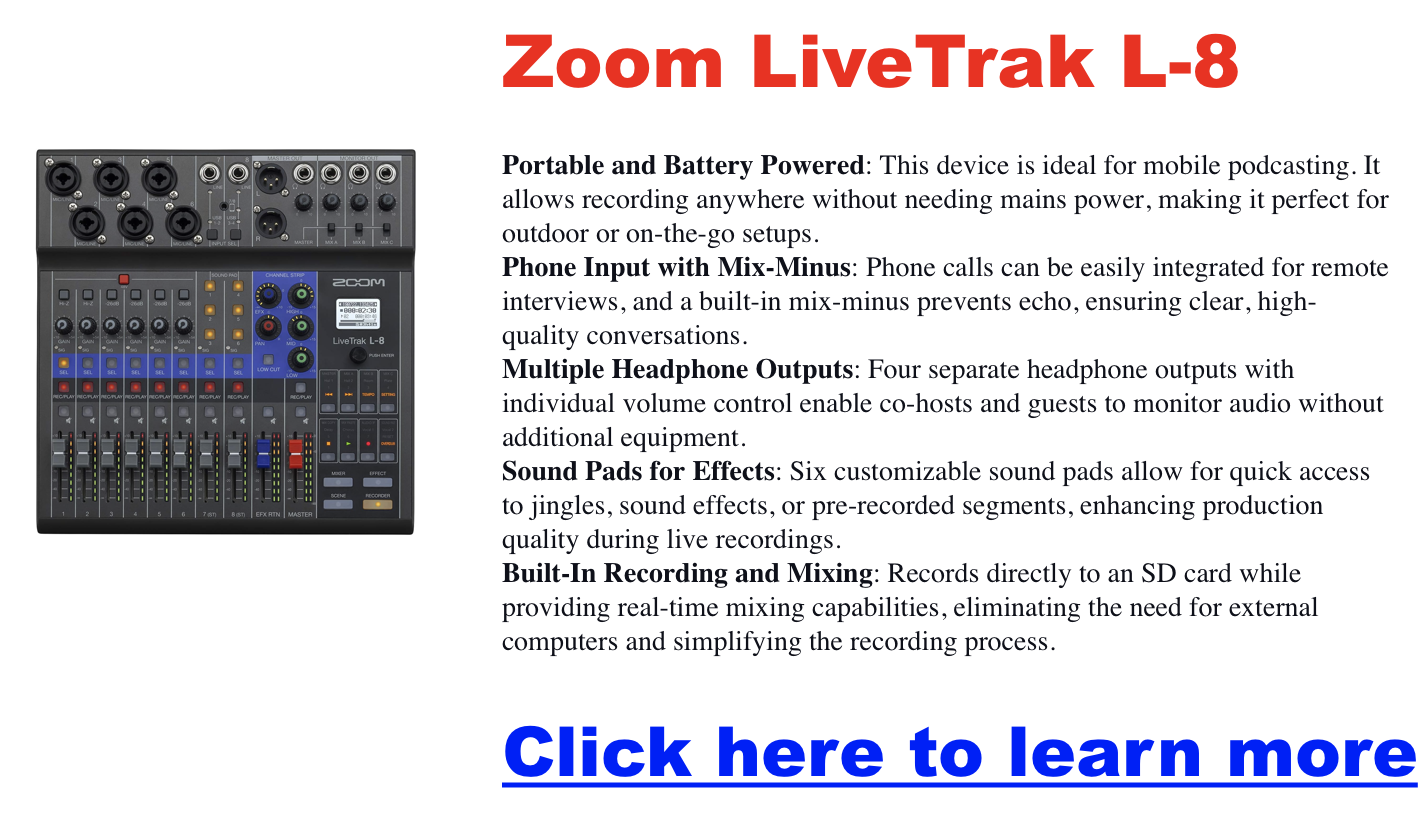
2026 “New School” Mixer Option: Yamaha MGX Series
Yamaha’s newer MGX series is built around modern creator workflows (USB-C, Bluetooth, multitrack recording, and streamlined control).
If you’re building a four-person in-room podcast rig or want a compact hub for streaming + recording,
this is the type of mixer category to look at in 2026.
Important: If your show is remote-first, skip mixers and use a clean interface + good remote software.
Start here: how to record a podcast remotely.
Don’t Forget Video: Cameras for Modern Podcasting
Video boosts discoverability on YouTube and increases engagement everywhere.
If you want a clear “what camera should I use?” answer, start here:
best cameras for podcasting.
- Webcams (Budget): A solid 4K webcam is fine for many shows—especially if lighting is good.
- Mirrorless (Cinematic): Great for studio podcasts and long-term upgrades.
- Smartphones (Most underrated): With good lighting + a stable mount, modern phones look excellent.
Pro Tip: Using a camera into OBS? A capture card prevents stutter and keeps the workflow stable.
Best capture cards.
And don’t ignore lighting: podcast lighting setups.
If you’re specifically building a “live show” workflow, also see:
live podcasting is not dead.
Additional Gear for Specific Needs
On-location / discreet interviews
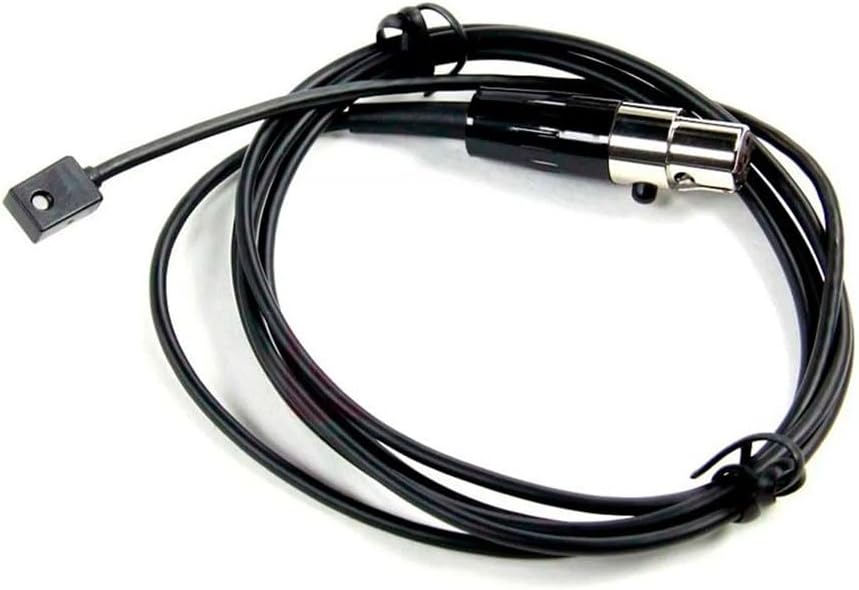
- Shure SM93 Lavalier Microphones —
discreet, hands-free for on-location interviews; often clearer than recording “room audio.”
Live commentary / sports / streaming
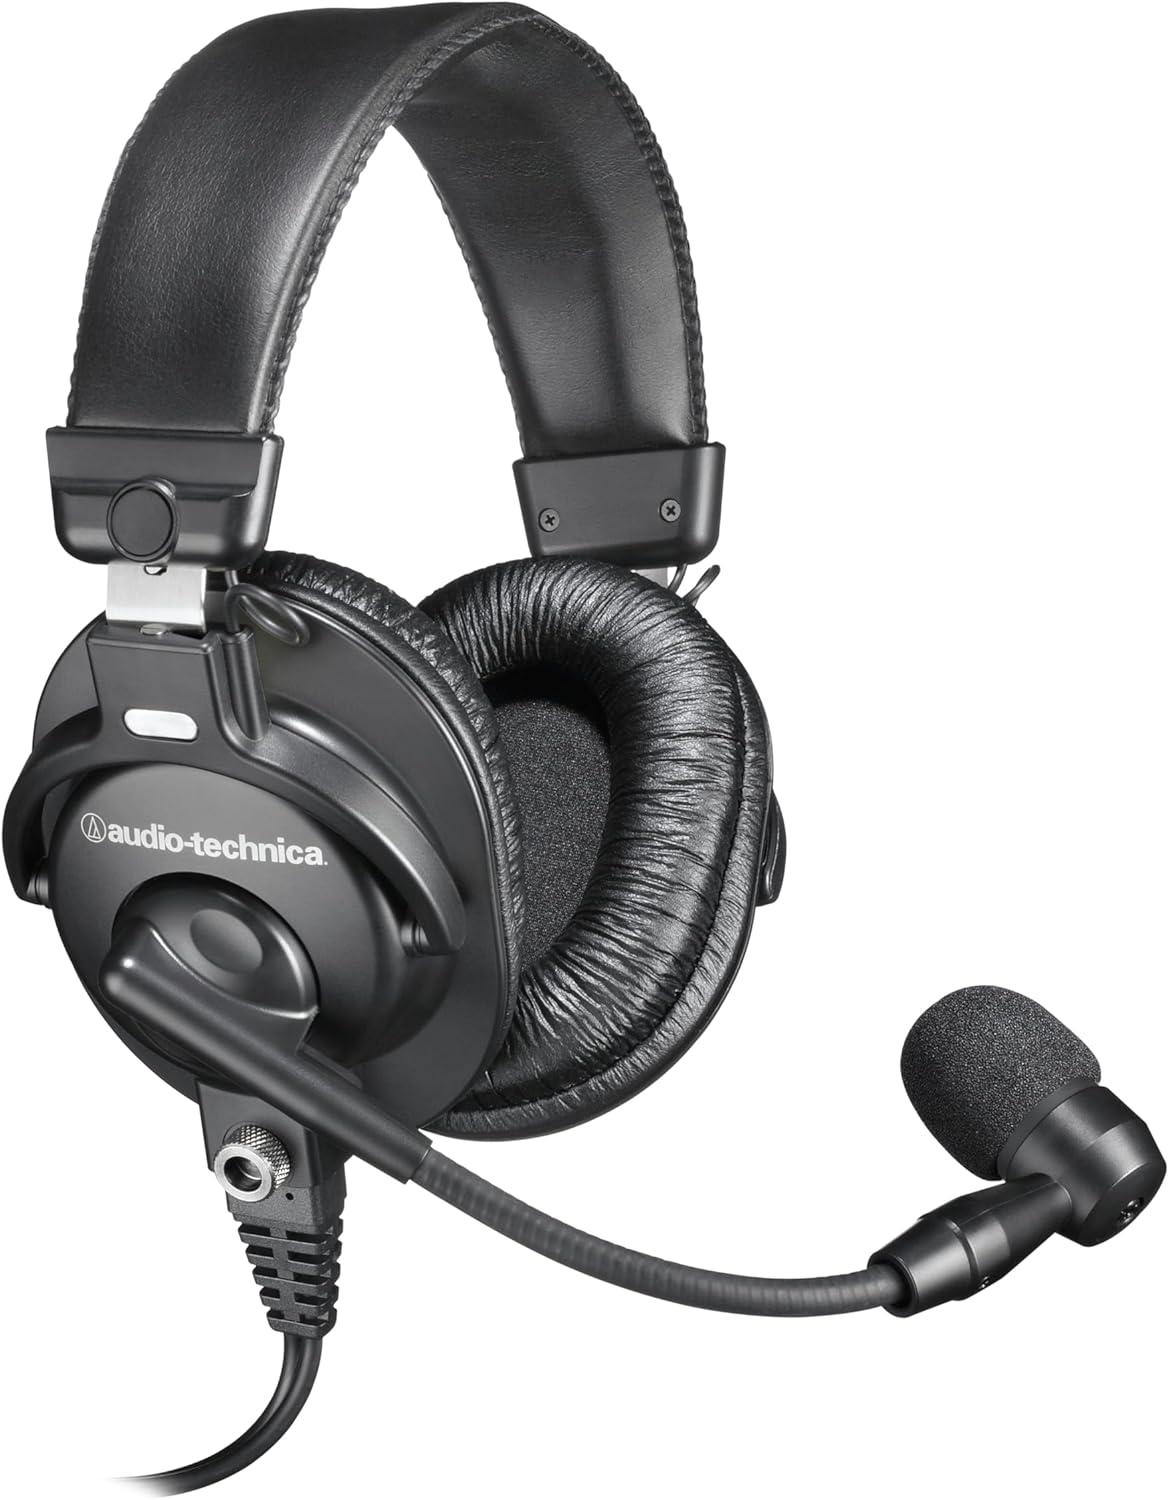
- Audio-Technica BPHS1 Headset Mic —
broadcast-style headphones + dynamic boom mic (XLR), great when you need consistent mic placement.
If your show is growing and you’re thinking bigger, browse:
our equipment guide
and what equipment is needed for a podcast.
Ready to Build Your Setup?
Explore More Guides: Deep dives on
microphones,
mixers,
mic setup,
headphones,
and studio lighting.
Monetize Your Show: Get our FREE monetization guide—sent instantly.
If you’re planning the business side, start here too: podcast business plan.
Podcast Equipment FAQ
What equipment do I need to start a podcast?
At minimum: a dynamic mic (USB or XLR), closed-back headphones, and recording software.
Treating your room and monitoring live dramatically improve results.
Start here: what is a podcast
and how to record a podcast.
USB vs XLR—what’s better?
USB is simplest for beginners. XLR with a quality interface usually delivers cleaner preamps, more control, and an easier upgrade path.
See: XLR vs USB.
Do I need a mixer?
Not for most solo/remote shows. An audio interface is often quieter and easier.
Mixers become valuable when you’re running multiple in-room mics, live routing, or need backups.
See: audio mixer for podcast.
Why is room treatment so important?
Untreated rooms cause echo and harshness that no mic can truly “fix.”
A few well-placed panels can make even budget mics sound pro.
If you’re fighting echo, also see: how to fix echo on mic.
What if I record with a co-host or guests?
Plan for enough inputs, enough headphones, and simple routing.
Start here: podcast equipment for co-hosts & groups
and podcast setup for two.
- The Ultimate Guide to Choosing Cameras and Lenses for Podcasting
- StreamYard Business Plan Review: Is It Worth $299/Month for Teams?
- Synology DS1525+ for Podcasters: What You Need to Know Before You Buy
- StreamYard Pricing (2026): Full Comparison of Plans, Differences, Features & Discounts
- Podbean Pricing: The Best Podcast Hosting Platform for Getting Started?